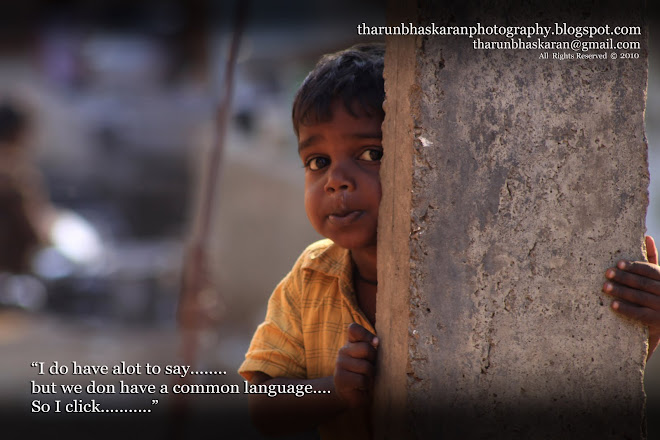
Forever Friendship
A moment from Life
Taken from Trivandrum,Kerala


Panorama From Shanghumukham Beach I was lost in a seaA sea of misery Where no one cared about me Weather i was alive or dead No one cared wut i saidNow you seeHow bad my life wasWithout you Once u came into my lifeI could see the lightTo escape this sea You helped me stand on my own two feet But then u diedAnd left me with no good-bye But im again lost in a seaA sea of misery..... Taylor Gragnani |

| 1. | Mount your camera on a tripod |
| 2. | Set your camera to manual exposure mode. Select an appropriate aperture for your scene (e.g. f/8 or less if you need more depth of field) and the lowest ISO setting. |
| 3. | Measure the light in the brightest part of your scene (spot metering or in Av mode to point only the highlights) and note the exposure time. Do the same for the darkest shadows of your scene. |
| 4. | Determine the number and value of exposures necessary. For this, take as a basis the exposure time measured for the highlights. Multiply this number by 4 to find the next exposure with a stop spacing of 2 EV. Multiply by 4 successively for the next exposures till you pass the exposure measured for the shadows. (Note: For most daylight outdoor scenes excluding the sun, 3 exposures spaced by two EVs are often sufficient to properly cover the dynamic range). |
| 5. | You can make use of Auto-Exposure Bracketing if your camera supports it and if it allows a sufficient exposure increment and number of auto-bracketed frames to cover the dynamic range determined in step 4. Otherwise, you will have to vary the exposure times manually. These Images can be Merged using an HDR software or PS (File>Automate>>Merge to HDR) |


